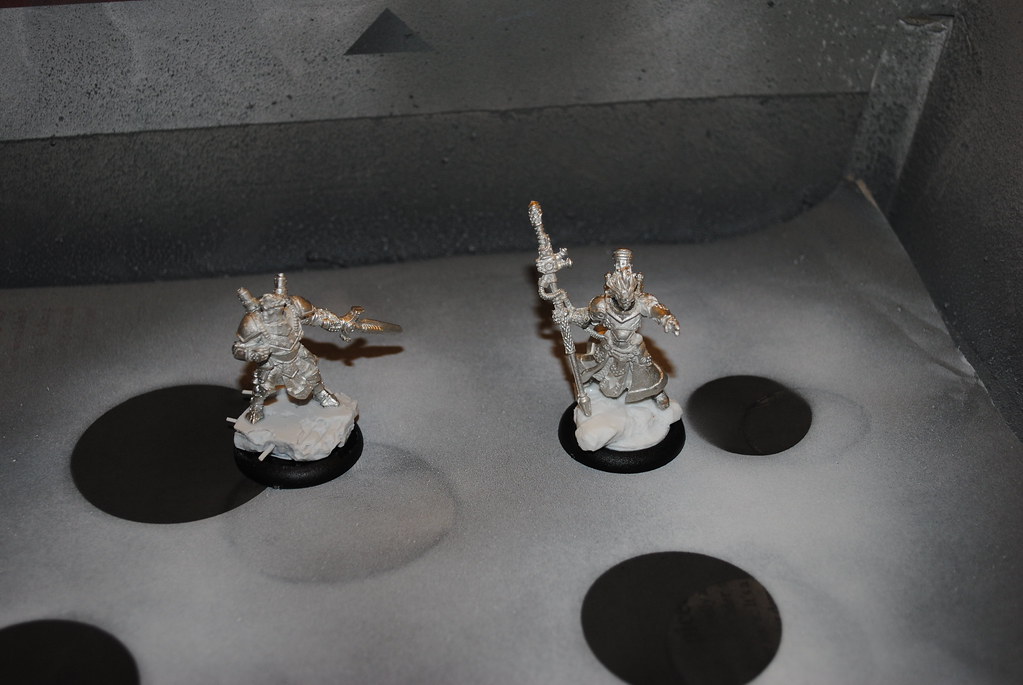
Snow priming involves black primer, white primer, and good weather. First step, prepare models:
 |
| Jr. and Nemo (click for larger) |
Here we have Nemo and a Journeyman Warcaster from Warmachine. Get 'em ready, get 'em in a box. Start with a traditional prime of straight black.
 |
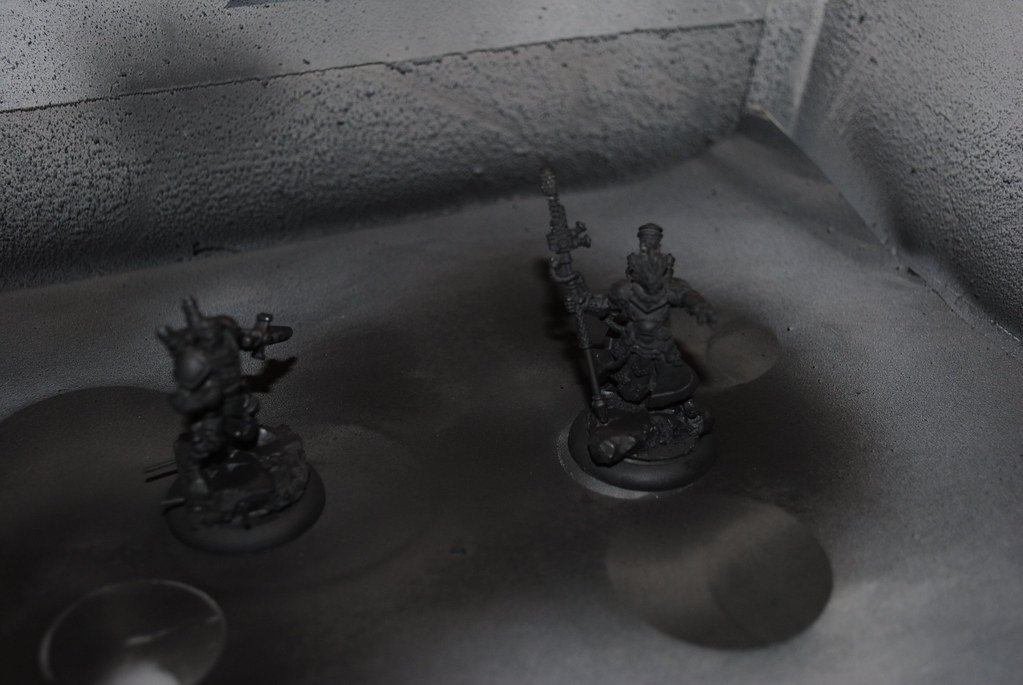
| Your models are black! |
Sorry for the focus issue, but you get the idea: the models are now black.
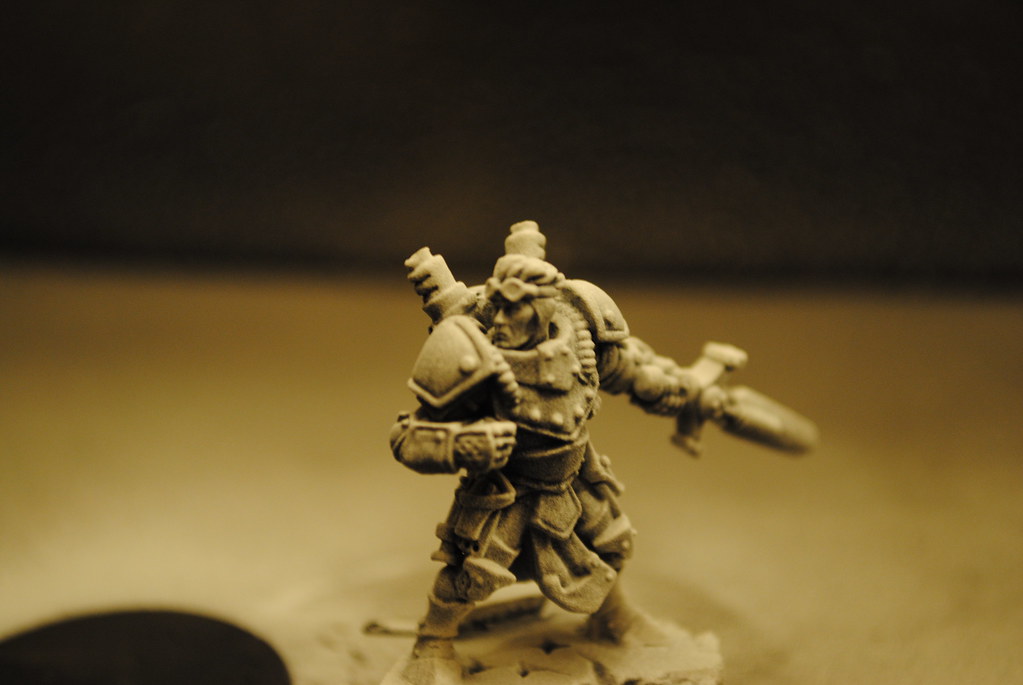
Now here comes the tricky bit. Take your white primer, hold it far away from the model, just enough to dust it. If its humid out, hold it closer otherwise it'll dry before it hits the model. The ideal angle is 45 degrees above. You only want to spray it from the top angles. The result should look like this:
 |
| Snow prime for the guide coat |
What this gives you is a model that has a built in shadow and highlight. By keeping the spray only on the topside of the model, the white areas are where light would hit in normal lighting conditions. I've been using this trick for a while now and its very effective in setting up your light/dark relationships. If you wanted to be really clever, when you paint the first coat, water it down a lot and you can keep the set highlight you have here. Not always the best but very quick. Here's a close up on Jr.:
 |
| No flash used for this one so you can see a little better with one light source |
I haven't tried this trick with any other colors than black and white. There are a lot of different companies that make great colored primer. No reason why something like this wouldn't work with other colors. I am tempted to try it in reverse and have a model "lit" from below instead of above. If you got any neat priming tricks, let me know. Getting a good prime coat down really helps the model out as a whole.
P.S. Here's a link to the Massive Voodoo article where I learned initially about this.
http://massivevoodoo.blogspot.com/2009/11/tutorial-kongs-priming-thoughts.html
Funny, I just saw this today after having done something similar albeit using dry brushing. This seems like it would work a lot better.
ReplyDeleteit helps a lot as a guide-coat for lighting. if you have something that requires source-lighting, this is another good trick to get your mind to start processing what it'll look like
ReplyDelete